Discover our best tips for visualizations in D5 Render
Do you also often lose time placing plants, grass, people and cars in your design? This repetitive work takes a lot of time, while it is essential for a catchy visualization. With D5 Render, you can make your workflow a lot more efficient. We already list our most important tips to get the most out of your visualizations.
Useful D5 tools
Above the D5 viewport you will find 4 handy icons for various rendering tools. The third from the left is the Tools icon, with options for Brush, Scatter and Pad. These tools will save you an enormous amount of time when placing objects. Choose the tool that suits your scenario:
1. D5 Scatter: quickly and efficiently add vegetation to your landscapes
A particularly popular tool is D5 Scatter, a spreading tool that uses PCG (procedural content generation). Whether you want to create natural or structured landscapes, this tool automates vegetation placement, saving landscape architects countless hours of manual work. At the top right of the window, you'll see the “Add Scatter” icon in the top toolbar. Click it and choose “Select Material” or “Select Model” (hotkey X for activation and change mode) to create a scatter area.
.png)
- 'Scatter Area' allows you to divide or manage the scatter area as a whole. Click 'Divide' > 'Image Divide' to create sub-areas based on the preset/custom color maps. Each sub-area can be used for spreading different plants and adjusted independently.
- The 'Content' panel manages plant models for spreading and provides customizable parameters to adjust their size, proportion and direction.
- Settings in the Distribution and Transformation panels allow you to influence the overall appearance of the plants within a designated area, for a random and organic look.
.gif)
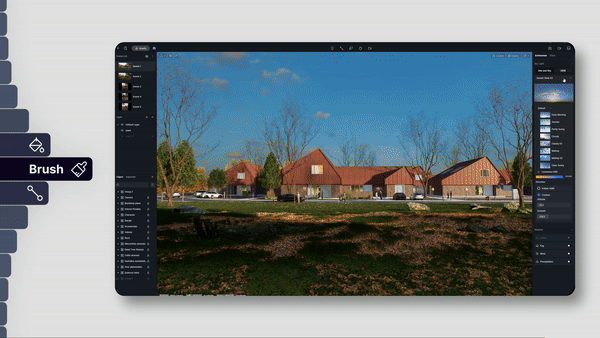
2. Brush: precisely placing plants in your landscape
The Brush allows for precise placement of plants in a specific area. Customizable settings such as radius, plant size and density allow you to fine-tune your landscaping with precision. In addition, brush records make it easy to reuse or remove specific plant combinations.
- Density: controls the density of the vegetation.
- Size: controls the size of the selected vegetation when drawn in the scene.
- Random Size: controls the degree of randomness in the size of the selected vegetation.
- Aligned to terrain: when checked, vegetation is generated along the normal of the model surface. When unchecked, the vegetation grows vertically.

Select the brushed/sprinkled model and you will see “Brush Records” in the right sidebar with information about drawn objects. Each object can be hidden or deleted. Select a record to reuse or delete the corresponding plant combination.
*If the same combination of models is in multiple brush records, these records are automatically merged into one record.
Choose the brush and one or more vegetation elements (up to 6 species at a time) from the D5 Model Library - Nature category and start drawing. Your cursor turns into a brush and the selected elements are placed where you hold down the left mouse button.
You can also set other parameters, such as Radius, which determines the size of the radius of the drawing brush. The radius of the brush automatically adjusts to the screen size of the viewport. So if you're rendering a small area, try moving the camera closer for a smaller brush. For large-scale scenes covering a larger area of plants, especially when rendering from the air, move the camera farther away for a brush with a larger radius.
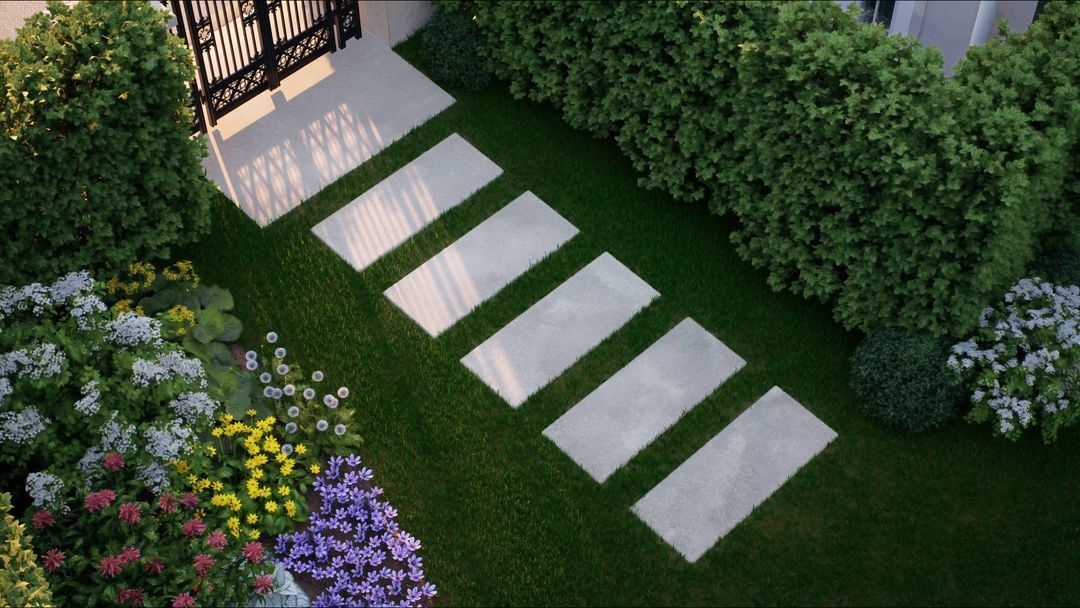
3. Path
To place elements on a particular route, you can use the Path tool so that elements (vegetation, characters, vehicles, animals) are placed the way you want them. This tool is especially useful if you want to plant trees along the road or place several cars on a lane.
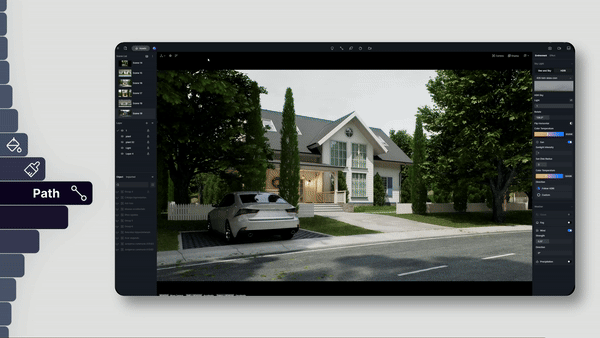
By clicking on certain spots with the Path tool, you can connect those spots and draw a line for trees to grow or people to walk on. By adding animated people and animals on the path, you can easily create a lively animation in D5.
In the right sidebar > Feature, you can add or remove model types and enable or disable the number of items, Direction & Random Direction, Random Spacing & Random Offset, Size & Random Size, or On/Off On the ground.
For the vehicle path, you can define the width and number of lanes. There are also a number of useful parameters/settings, including Random colors, Drive Left, Change Direction, Density, Speed, Car lights on/off for all cars on the path. This will save you a lot of time when creating a street scene in a city.
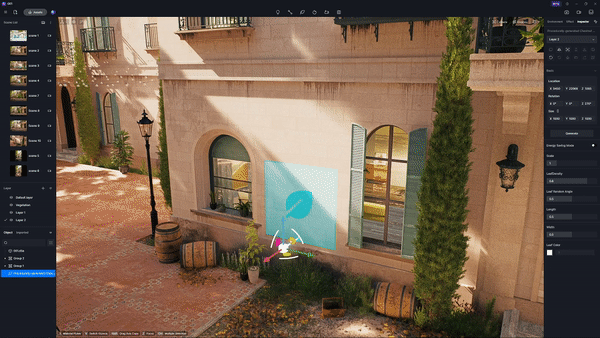
4. D5's generated vines: fast and realistic
Save time with D5's automated generated vines. Select the desired type from the D5 Asset Library and place it vertically against a model surface. Click Generate and a realistic effect of climbing plants appears.
5. More time-saving tools in D5
To quickly place a set of models in different places, the Group command always works. In D5, Group and Multi-select work differently. Grouped objects are seen as a whole, while actions on multi-selected objects apply to each object individually. When adding a single object, there is also a function to help you with presets.
When creating green walls (walls covered with vegetation as decoration), the “Align to terrain” option in brush tools does the job.
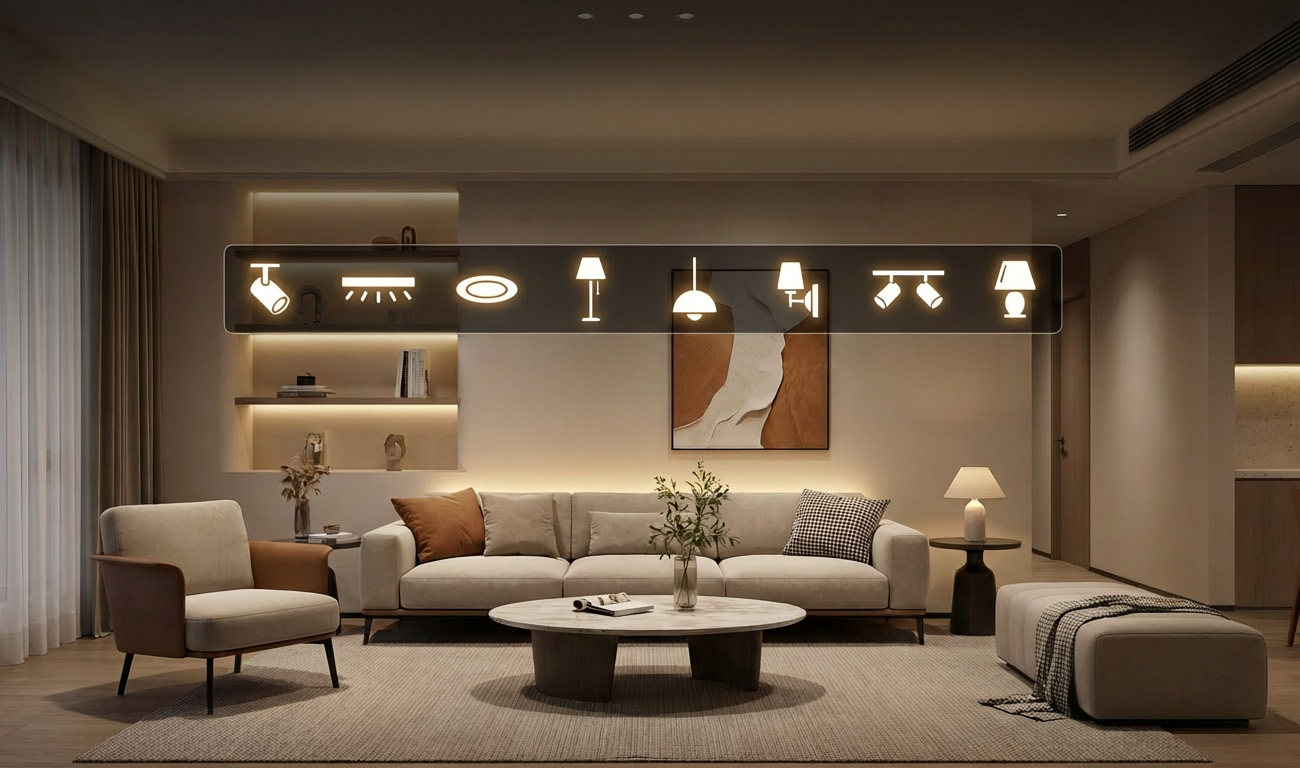
To quickly fill an interior space with sophisticated furniture and lighting, there is an easy way: use the ready-made Interior Parallax models from the D5 Library and place them exactly inside the windows.
So there are a lot of handy tools to make the job easier for you. Also optimize your workflow thanks to D5 Render and create the most beautiful visualizations smoother, faster and easier. Try it yourself!