From SketchUp to D5 Render in 15 Minutes
Modeling in SketchUp is fast and intuitive, but creating renders? That often takes hours. Fortunately, with this D5 Render workflow, you get a photorealistic scene ready to present to your client in 15 minutes.
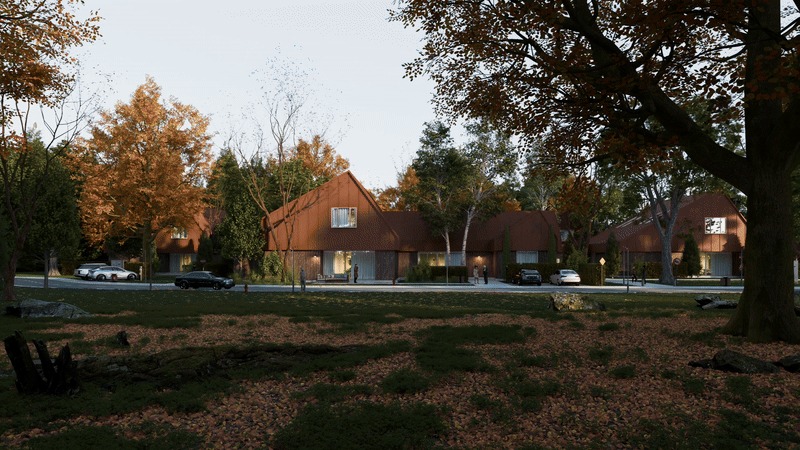
.jpg)
In this article, we walk through the workflow step by step. No D5 Render experience required.
Step 1: Prepare your SketchUp model (5 min)
Good news: you don't need to rebuild your model completely. A few quick checks are enough:
- Check the scale: Set your model to the correct size (a door is 2.10m high).
- Use layers: Put furniture, trees and people on separate layers/tags.
- Simple materials: Give your walls, floors and glass a basic color in SketchUp.
Tip: Create 2-3 "scenes" in SketchUp with your key camera viewpoints (exterior, interior, detail). You'll import them perfectly into D5.
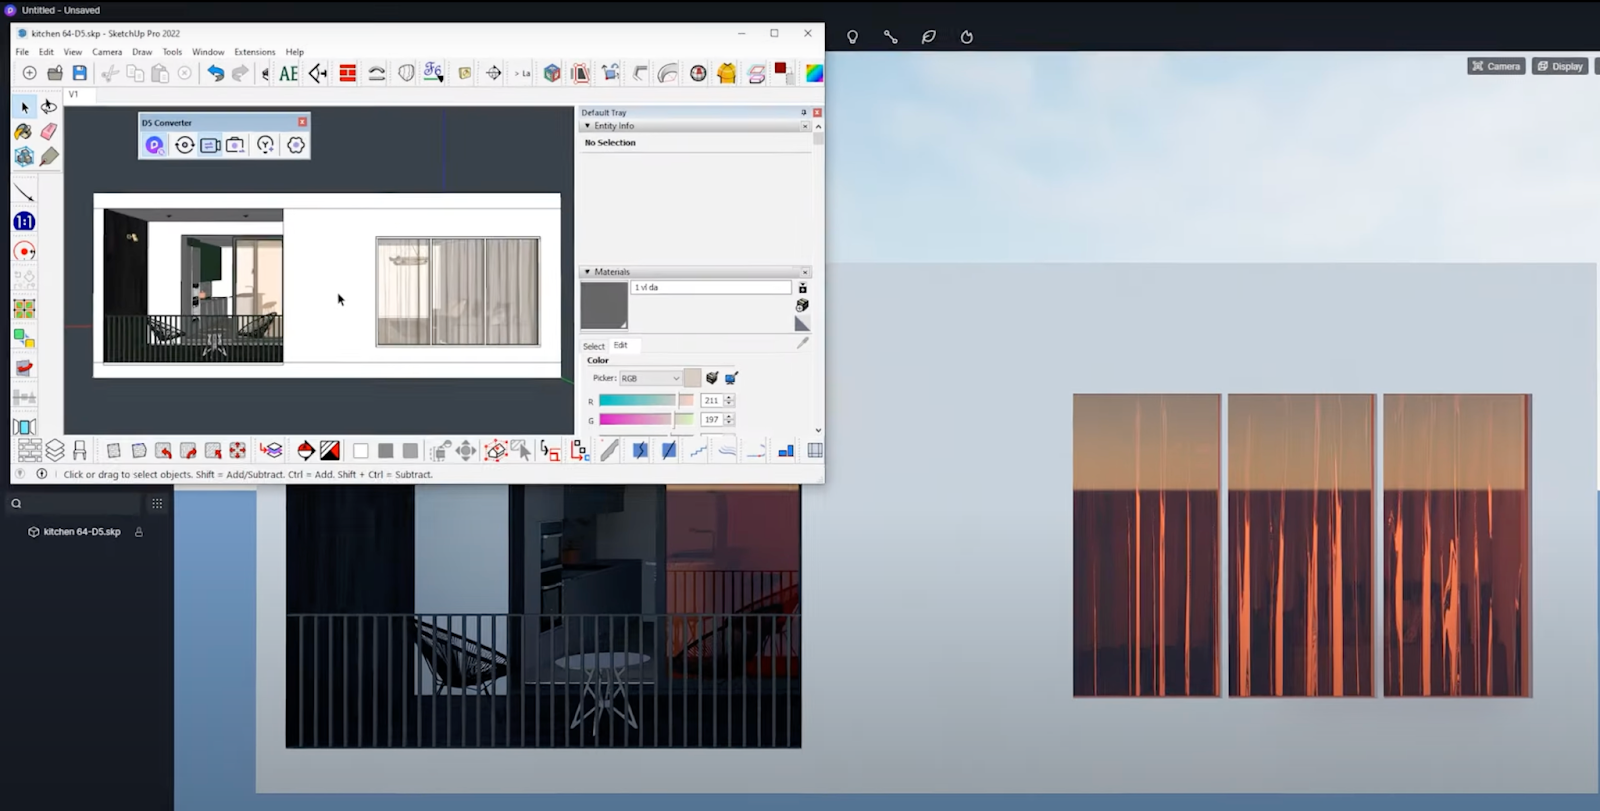
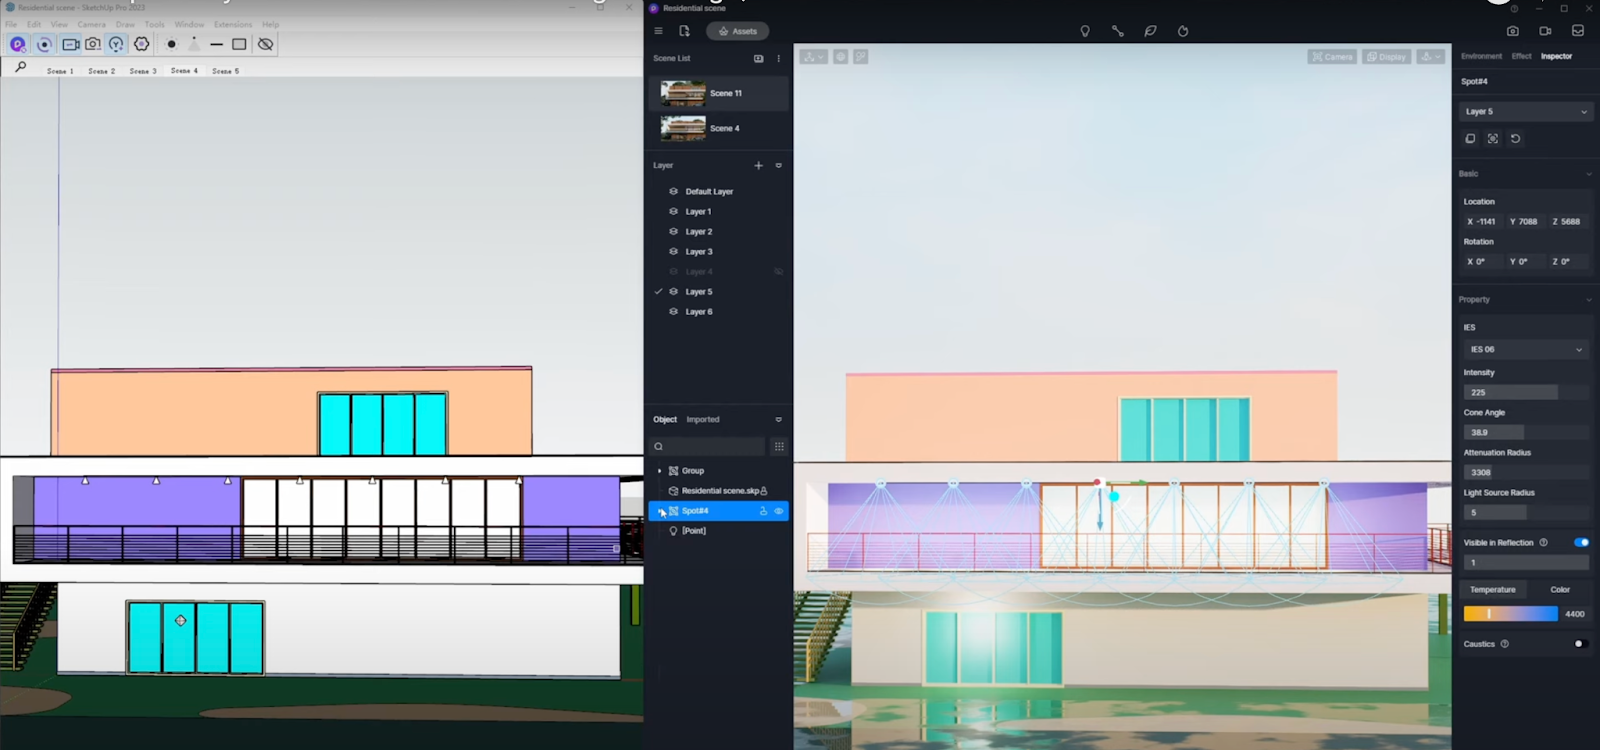
Step 2: Install D5 Render & SketchUp connector (2 min)
Download D5 Render and install the free SketchUp LiveSync plugin.
How does it work?
- Open your SketchUp model
- Click "Connect to D5" (or similar button)
- D5 opens automatically with exactly the same model: scale, position and materials intact
Your SketchUp stays open and updates live while you work in D5. Change a wall in SketchUp? You see it immediately in D5.
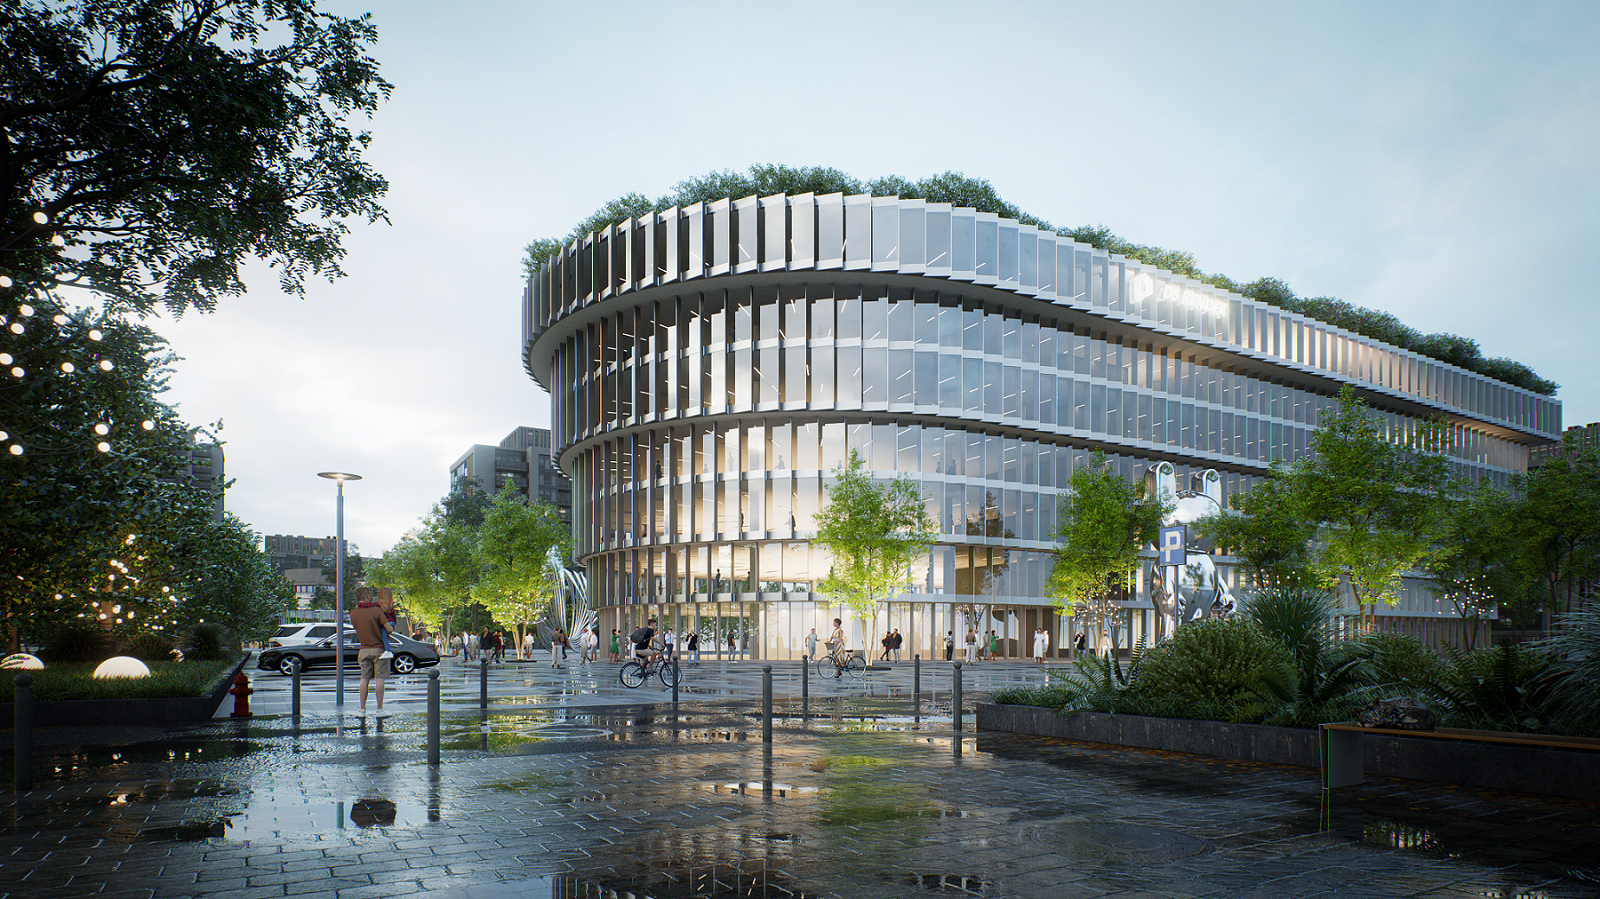
Step 3: Make your scene photorealistic (6 min)
D5 Render works on the "what you see is what you get" principle (WYSIWYG): every change is visible immediately. With a few simple adjustments, your design becomes ultra-realistic.
Set lighting
Choose an HDRI environment from the D5 library:
- "Sunny day" for exteriors
- "Studio softbox" for interiors
- "Golden hour" for landscapes
You immediately see the effect on shadows and reflections.
Upgrade materials
Click on each SketchUp material and choose from 1000+ PBR materials:
🏠 Walls → realistic textured concrete
🪟 Glass → thin glass with framing
🌳 Trees → ready-to-use entourage
Add entourage
Drag scene elements from the asset library:
👥 People for scale
🚗 Cars for context
🌿 Vegetation for landscape
Step 4: Render & present (2 minutes)
The hard work is done and unlike other tools, with D5 Render you don't have to wait hours for your visualizations.
- Stills: Click your favorite camera point: Full HD or 4K and render in seconds.
- Animation: Add 3 viewpoints and select "Render Path Animation": your short flythrough is ready.
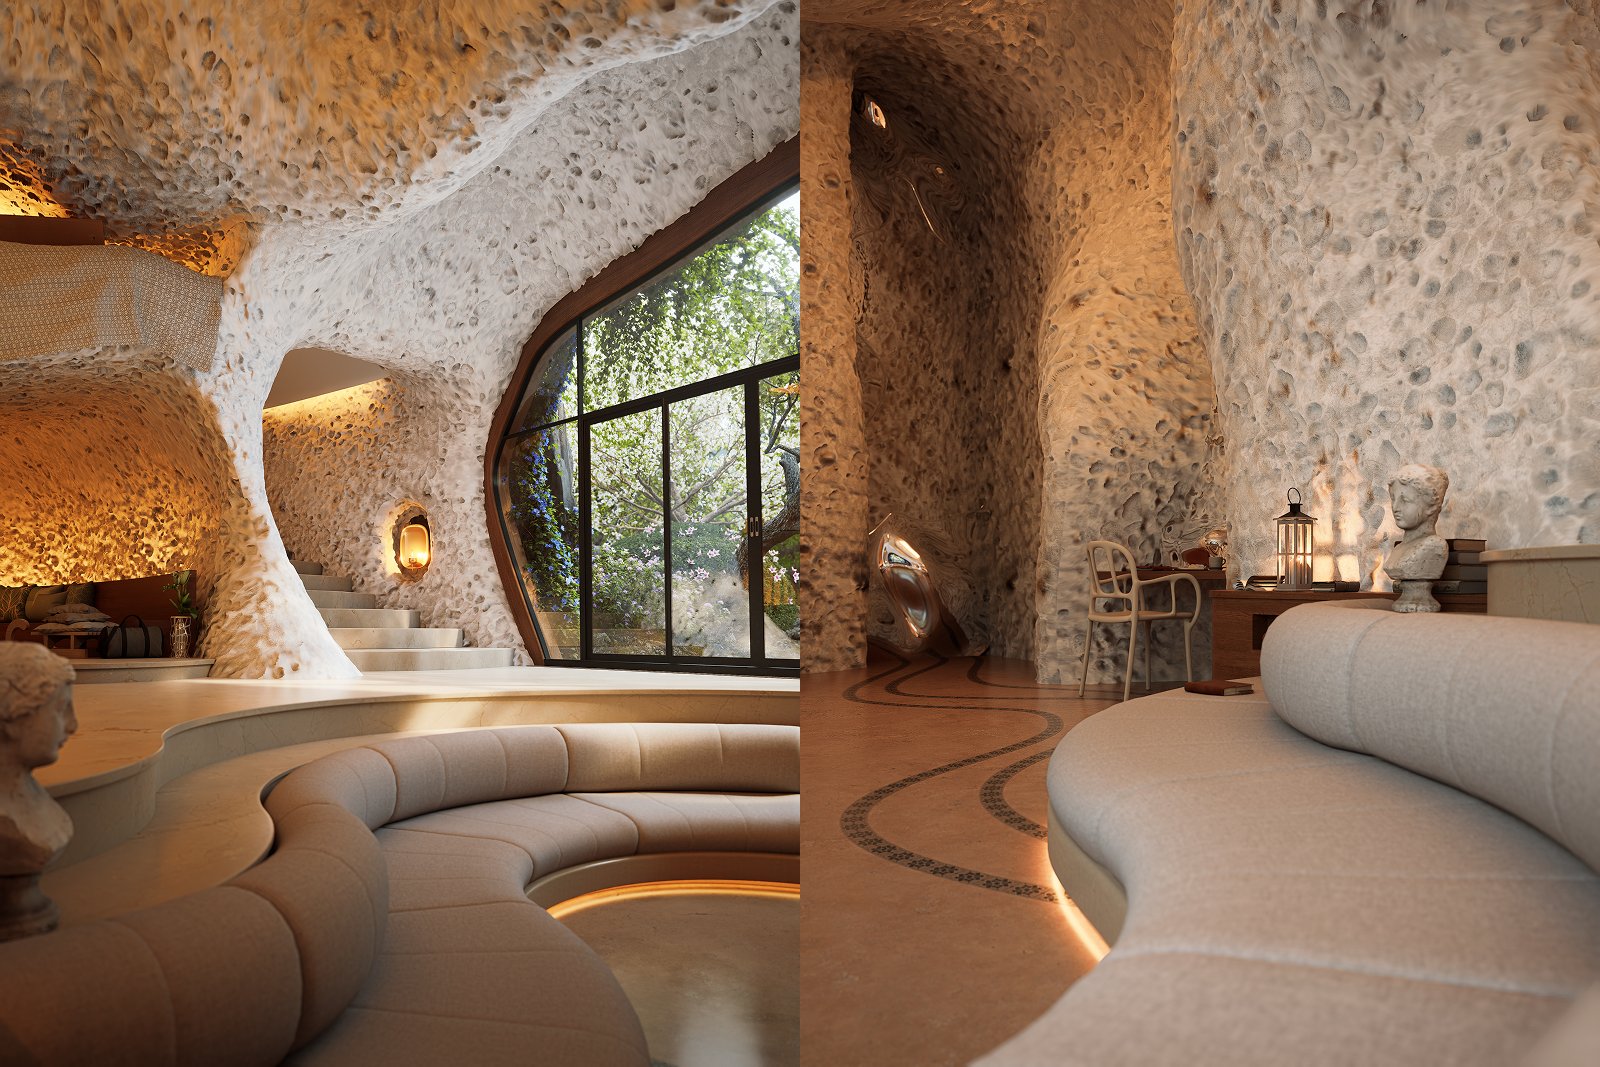
Result: professional visuals you send directly to your client, without hours of waiting.
Why this D5 Render workflow works perfectly
Whether you're in Paris, Brussels, Antwerp or Amsterdam: SketchUp + D5 Render is language- and region-independent. For every office, this workflow delivers time savings and numerous benefits:
- Architects present faster to contractors
- Interior designers convince clients with realistic materials
- Landscape architects win tenders with contextualized renders
Try it yourself: Download D5 Render and the SketchUp connector now and test this workflow on your own model. In 15 minutes you'll have renders that impress every client.
FAQ: SketchUp & D5 Render workflow
Does D5 Render work with my SketchUp version?
Yes, from SketchUp 2019 (including Pro, Studio, Make).
Do I need a powerful PC for SketchUp & D5 Render?
RTX 3060 or higher gives the best experience. Older GPUs work but are less smooth and therefore deliver inferior results.
Can I save my D5 scene and reopen it later?
Yes, D5 saves everything as a project file and maintains the SketchUp link. This way you can easily pick up where you left off.