Rendering in 15 minutes with the AI workflow of D5 Render
With D5 Render, the entire visualization workflow now takes place in one place. D5 Lite provides the real-time preview in the early stage, while D5 Render takes over when you're ready to further enhance quality. In this tutorial, we guide you step by step through the complete workflow.

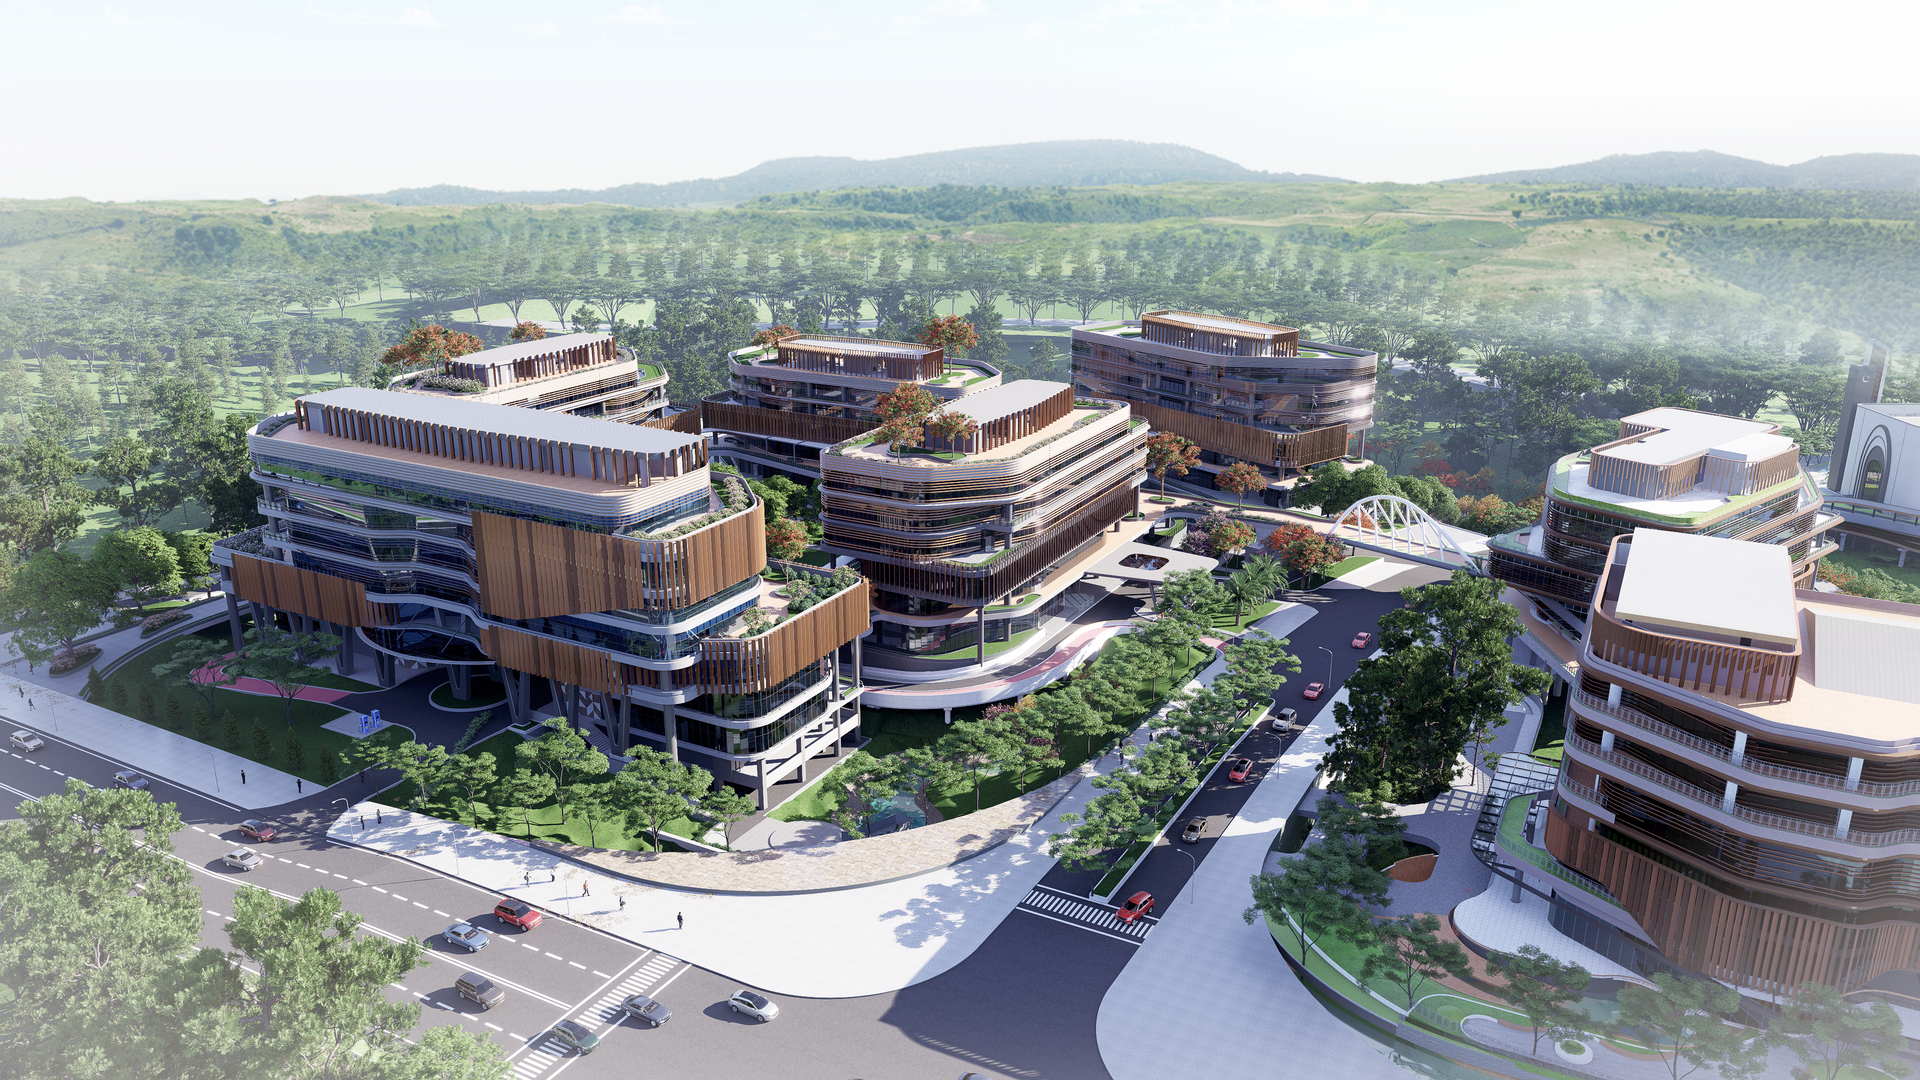
Improving your visualizations with detailed materials, setting up the environment and lighting, populating the scene, and post-production… it all happens much faster nowadays. From start to finish, the entire process takes about 15 minutes with this step-by-step plan.
Let AI automate tedious tasks such as assigning materials and adjusting lighting, while you maintain full creative control. This allows you to create realistic scenes within seconds using smart asset tools and a massive library with more than 14,000 animated and static models.
Step 1: import the model and set up the workspace
Start by downloading D5 Render. We recommend installing the program on a drive with at least 40 GB of free space. This ensures you have enough room for assets, materials, and project files as the library grows.
D5 Render supports three ways to import your architectural model:
- Direct file import:
Open files in common 3D formats, including SKP, FBX, OBJ, and more. - Live Sync:
Connect in real time with SketchUp, Revit, Rhino, and other modeling tools using dedicated plug-ins. Changes in your modeling software are instantly updated in D5 Render. - D5 Lite Sync:
If you have been working in D5 Lite, open your project directly without re-importing.
If you are used to the navigation controls of another tool, go to the menu and switch to the layout that matches your workflow. This takes about 30 seconds and ensures the interface feels familiar from the start.
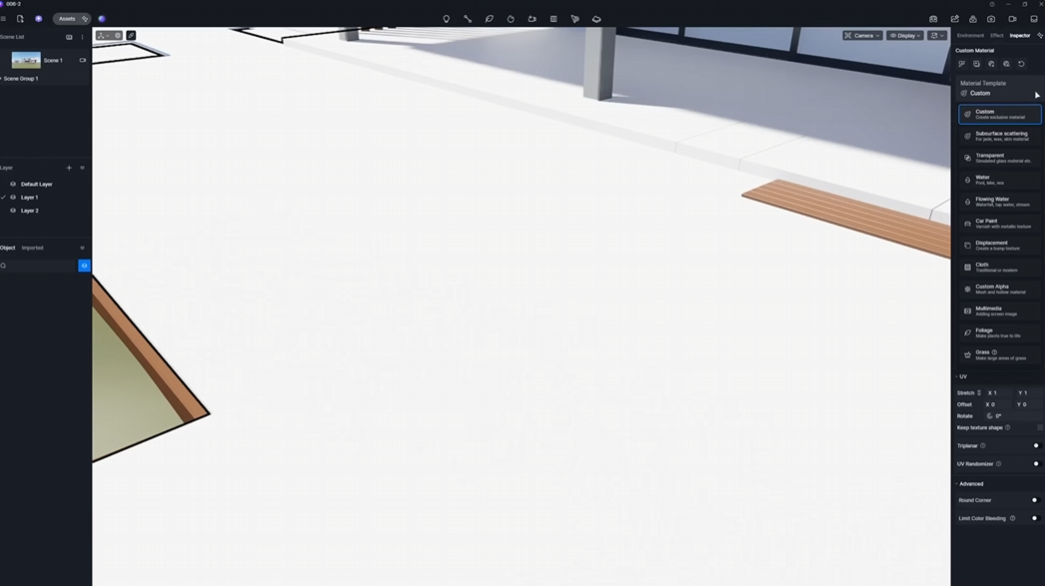
Step 2: edit PBR materials in D5 Render
D5 Render uses a PBR material system (Physically Based Rendering) with built-in templates and a library of ready-to-use materials, allowing you to get started quickly. If you understand the key texture maps, you gain much more control over your results:
- Roughness:
Determines how smooth or rough a surface appears. Dark values create smoother, more reflective surfaces, while lighter values result in rougher, more diffuse surfaces. - Specular:
Controls reflectivity. If a dark specular map makes the material look flat, try slightly increasing the Specular Strength value to restore balance. - AO (Ambient Occlusion):
Adds soft contact shadows in corners and crevices. This is especially useful for floors and walls to visually ground materials.
Once you’ve set up a material, use the material picker to select it and then press ‘O’ to apply it to another surface. This allows you to reuse finishes across multiple elements without recreating them.
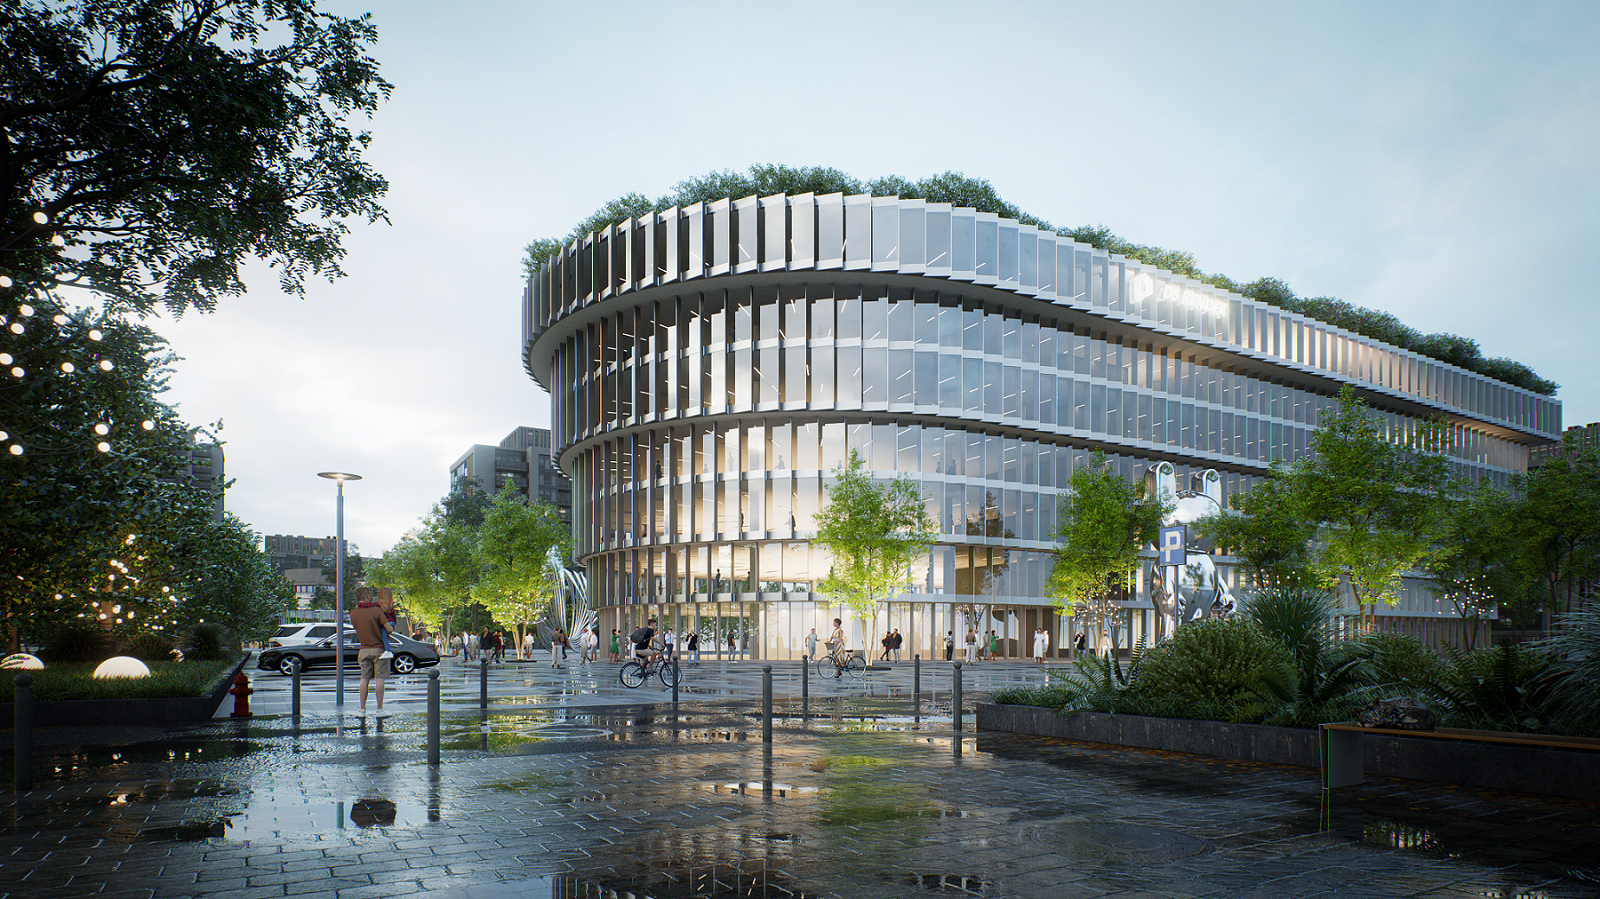
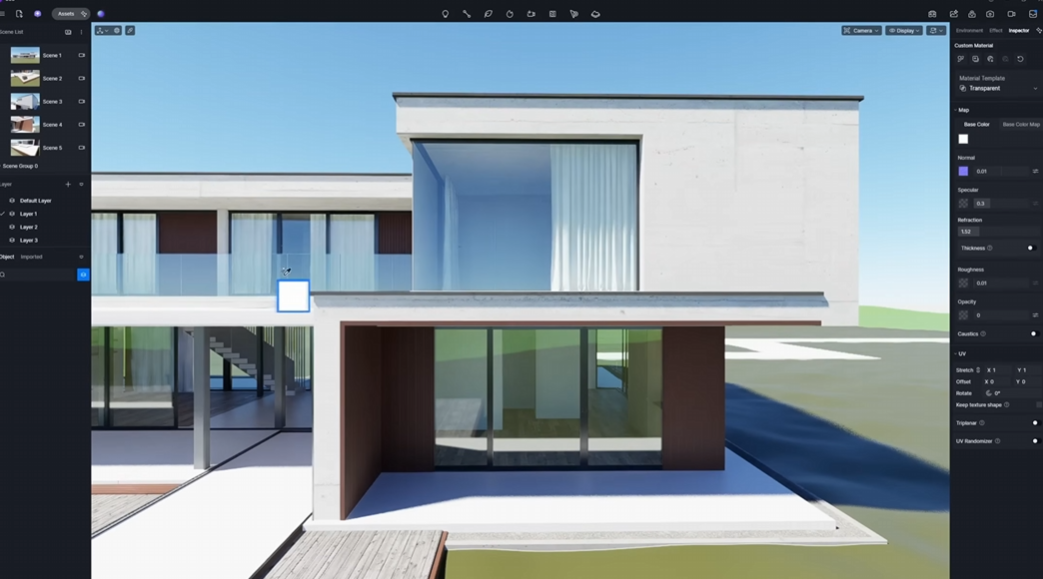
For example: To simulate water stains on exterior walls, take a decal from the D5 asset library. Place it on your surface, adjust its size and opacity, and duplicate it to break the clean CG look. For glass, switch to a transparent material template. Since glass is extremely smooth and highly reflective, set the roughness value close to zero and increase reflectivity to achieve sharp, realistic reflections.

To quickly create materials based on reference images, try the AI PBR Material Snap tool. Upload a photo of the surface you want to replicate, and D5 Render will automatically generate a mapped PBR material.

Step 3: populate the scene with built-in assets and tools
D5 Render includes a built-in asset library with over 14,000 static and animated models, ranging from furniture and vegetation to people, vehicles, and much more. For outdoor scenes, two tools handle most of the heavy work:
- D5 Scatter:
Select a preset for grass or ground cover and distribute it across the terrain in seconds. You can adjust the mix of plant species based on location context or a specific climate zone. - Brush & Path Tools:
Draw trees and shrubs freely around a building or define a path to automatically distribute plants, people, or vehicles along a route. Density and randomness settings help avoid a uniform look.
.gif)
For projects with extensive greenery, the SmartPlanting tool from the AI Agent goes even further. Specify the location and planting style, and the tool automatically generates an ecologically responsible planting layout. It’s worth using this tool for any outdoor environment where planting decisions would otherwise take significant time.
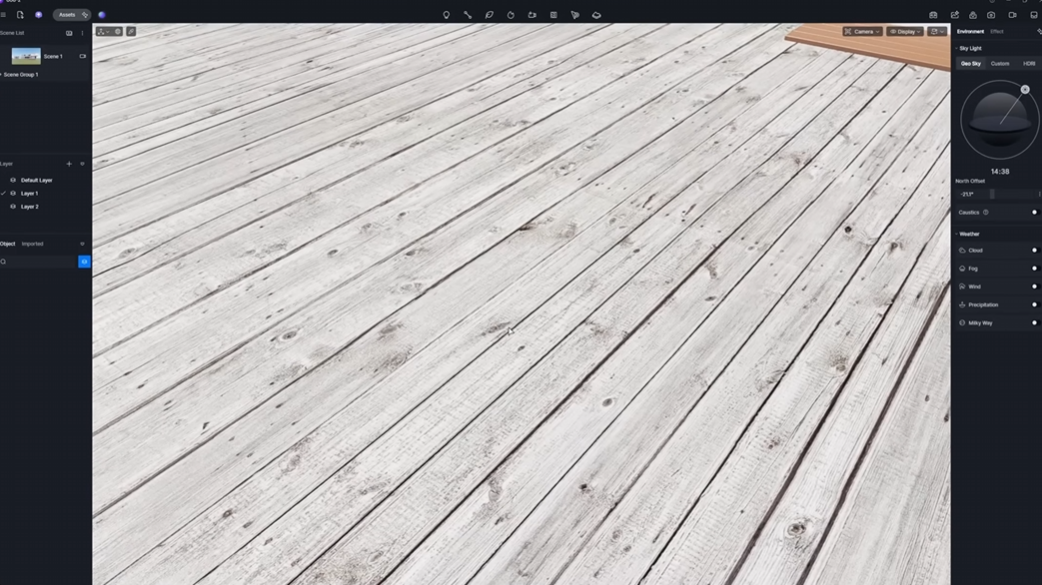
Step 4: set up lighting and environment
D5 Render offers all types of artificial lighting, from point, spot, strip, rectangular to disc lighting. This gives you precise control over both interior and exterior lighting. For the environment, there are two main options that cover most scenarios:
- Geo Sky & Night Mode:
Enter the location, date, and time of your project to simulate accurate sun positioning and natural lighting conditions. You can also add volumetric fog for atmospheric depth or enable precipitation effects for cloudy and rainy conditions. - Custom HDRIs:
Load any HDRI from D5 Render’s preset library or your own collection to quickly define the mood of the scene.
If you are working with a reference image, the AI Atmosphere Match feature in D5 Render can help. Upload the image, and D5 Render generates a matching HDRI and adjusts the environment to approximate the desired look. You can save the result as a template in the Studio Cloud for reuse across projects.
If you have a general idea but no reference image, you can use the new Scene Match tool from the AI agent in D5 Render 3.0. Describe the atmosphere you have in mind, and the AI automatically sets up the environment.

Step 5: finalize with AI post-production in D5 Render
D5 Render includes a built-in set of post-processing tools, allowing you to perform most adjustments without leaving the software. Lighting, shadows, and contrast can all be adjusted directly within the program. You can also enable AO and Outline modes to generate schematic analysis views.
%25201.png)
When you're ready to export, go to ‘Image Render’ mode, set the resolution, and enable the ‘AI Post Channel’ in the output settings. This unlocks AI post-processing tools once rendering is complete:
- AI Enhancer
Automatically refines overall lighting and fine surface details. A reliable first step to improve overall image quality without manual color correction. - AI Style Transfer:
Applies a different visual style to your finished render. Useful for presenting alternative looks, such as photorealistic versus illustrative, or daytime versus evening, without re-rendering.

- AI-inpainting:
Allows you to selectively edit specific parts: replace the sky, adjust a material, or clean up an area without affecting the rest of the image. - Effects panel:
Includes motion blur and other adjustments that add movement and a cinematic feel to still renders.

Step 6: render animations and virtual tours
For clients who need more than still images, D5 Render supports both cinematic animations and interactive virtual tours—without requiring a separate tool or complex setup.
How to create an animation in D5 Render
- Add a new video clip.
- Set your starting keyframe.
- Move to the next camera position and add a second keyframe. D5 Render automatically handles interpolation.
- You can also use preset camera path templates or build phasing animations that walk through the construction sequence step by step.
How to create virtual tours & XR in D5 Render
- Set your main camera positions.
- Add hotspots to guide viewers through the space.
- Publish directly to D5 Showreel.
- From there, you can share a link with clients so they can explore the design on their own device.

Ready to render in 15 minutes?
Creating high-quality visualizations doesn’t have to take hours. With AI-powered tools, real-time lighting, and smart assets in D5 Render, you can produce a finished scene in just 15 minutes. The software handles the heavy lifting, so you can focus on design.
Try it now and download D5 Render!
FAQ - Rendering with AI workflow
How can I make my 3D renders look photorealistic without spending hours tweaking settings?
Photorealism comes down to accurate lighting and high-quality PBR materials. Instead of manually adjusting settings, try using AI-powered tools. In D5 Render, you can use AI Atmosphere Match to replicate lighting from a reference image. Then use the built-in AI Enhancer to automatically refine global lighting and surface details in one step.
Is there an AI tool that helps with applying textures and materials in architectural visualization?
Yes, AI is transforming how texture mapping works in architectural visualization. Instead of building complex material nodes from scratch, you can upload a single reference photo in D5 Render. The AI will automatically generate a fully mapped PBR material that is applied directly to your model.
What is the easiest way to share 3D architectural models or virtual tours with clients?
Clients often struggle with heavy files or unfamiliar software. Web-based interactive tours are usually the most effective solution. In D5 Render, you can set camera positions, add interactive hotspots, and publish Spatial or XR tours directly to the cloud. Then simply share a web link with your client so they can view the design on any device—no downloads required.