What are displacement maps in D5 Render 3.0 and how do you use them?
As an architect, you want to impress your clients with stunning photorealistic renders. But if you have an eye for detail, you also want to see those details come to life in façade bricks, textures, and vegetation. That is exactly what displacement maps in D5 Render are designed for.
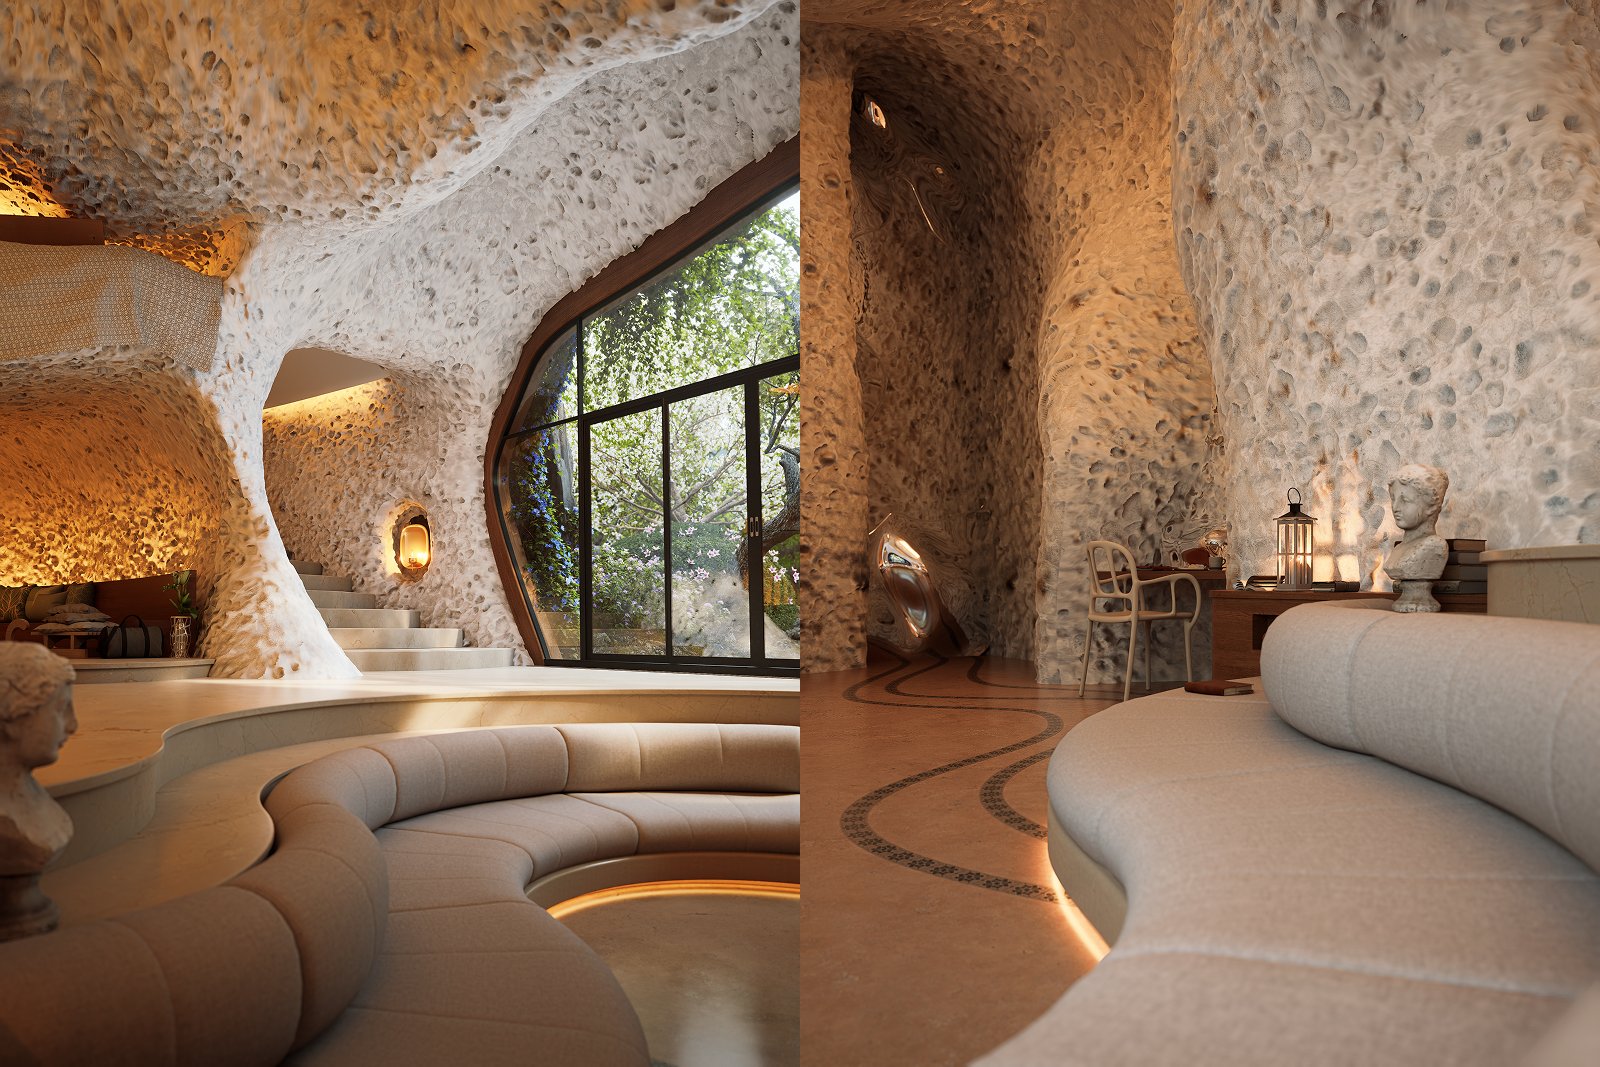
Displacement maps are therefore extremely valuable for architects and designers who want to create photorealistic renders of outdoor spaces, façades, interiors, or landscapes. They are also a key feature of the latest update, D5 Render 3.0.
What is a displacement map?
A displacement map is a special image that contains height or depth information. It tells the render engine where the surface of a model should be stretched, compressed, or deformed.
Displacement maps are a powerful tool in 3D rendering to add depth, detail, and realism to surfaces. Unlike bump maps or normal maps, which only suggest surface variation, displacement maps modify the actual geometry of a surface based on height data. This means objects look more realistic thanks to real relief differences in stone, brick, rocks, or other types of terrain.
What are displacement maps used for?
Displacement maps are essential for renders that require high levels of detail and realism. They allow surfaces to react to light the same way they do in the real world. As a result, renders feel less flat and gain true depth. For architectural and landscape design, this means:
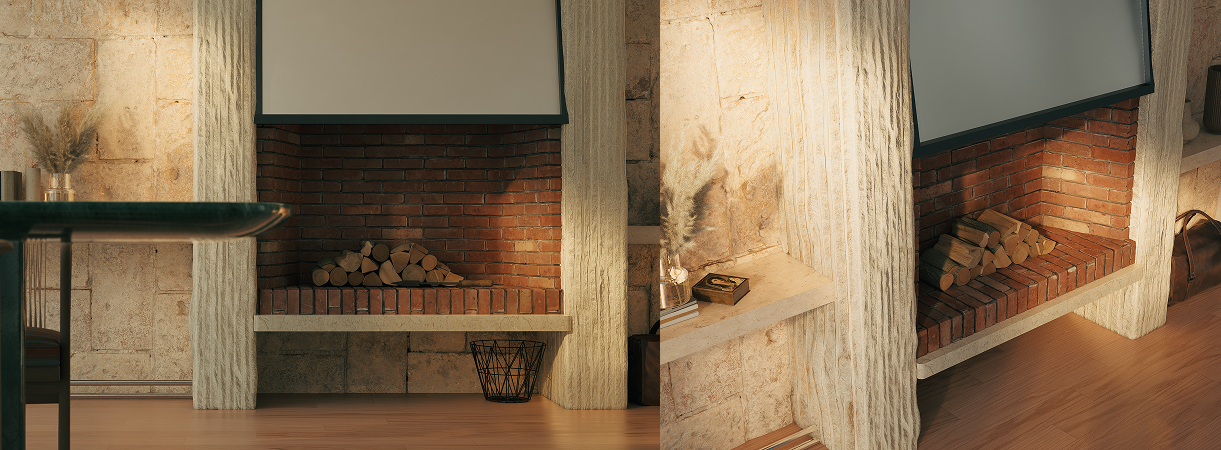
- More accurate materials, especially for rough surfaces such as brick, concrete, or terrain
- Better light and shadow behavior
- No distorted reflections on complex structures
- Photorealistic close-ups of architectural details
This is especially important for photorealistic renders used in presentations, marketing visuals, or project reviews.
What is the difference between displacement maps, normal maps, and bump maps?
Bump maps
In 3D rendering, different types of texture maps are used, each working in a different way. Bump maps are the simplest form. They do not change the geometry of a model but simulate small surface irregularities by affecting lighting only. This makes bump maps suitable for subtle surface texture, but they lack depth and convincing shadow behavior.
Normal maps
Normal maps take things a step further. They also do not modify geometry, but instead control light interaction per pixel using RGB information. This creates more detail and more realistic lighting than bump maps, without adding extra geometry. Normal maps are often used in real-time rendering because they provide a good balance between detail and performance.
Displacement maps
Displacement maps modify the actual geometry of the model. This results in realistic shadows, correct reflections, and a convincing sense of depth, especially in close-up views. Displacement maps are therefore ideal for architectural visualization, such as brickwork, natural stone, terrain, and other rough materials.
How do displacement maps work technically?
A displacement map works using a grayscale image that represents height information. Render engines read this map and move the vertices (points) of your 3D model according to the grayscale values.
Rendering software such as D5 Render uses techniques like:
- Tessellation: subdividing a mesh into smaller polygons to add detail
- Micro-displacement: high-frequency detail without heavy mesh editing
When displacement maps are combined with proper material setup in D5 Render, the result is lifelike textures and realistic light responses.
How do you use displacement maps in D5 Render?
With D5 Render, you can apply displacement maps via the Material Library and templates. D5 Render supports True Displacement, height maps, and uses shaders to generate detail and relief.
How to get started with displacement maps in D5 Render:
1. Select the material you want to adjust
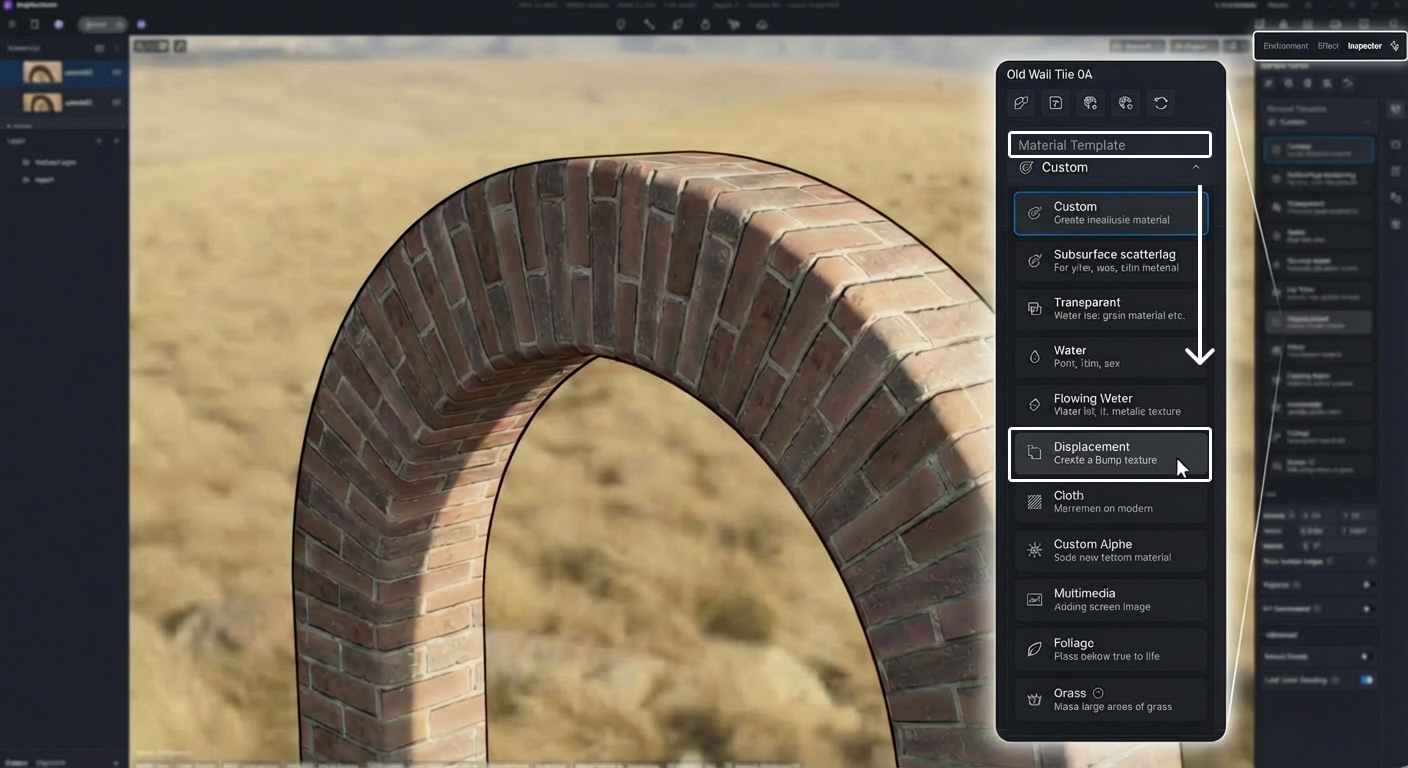
2. Go to the material settings
3. Enable True Displacement
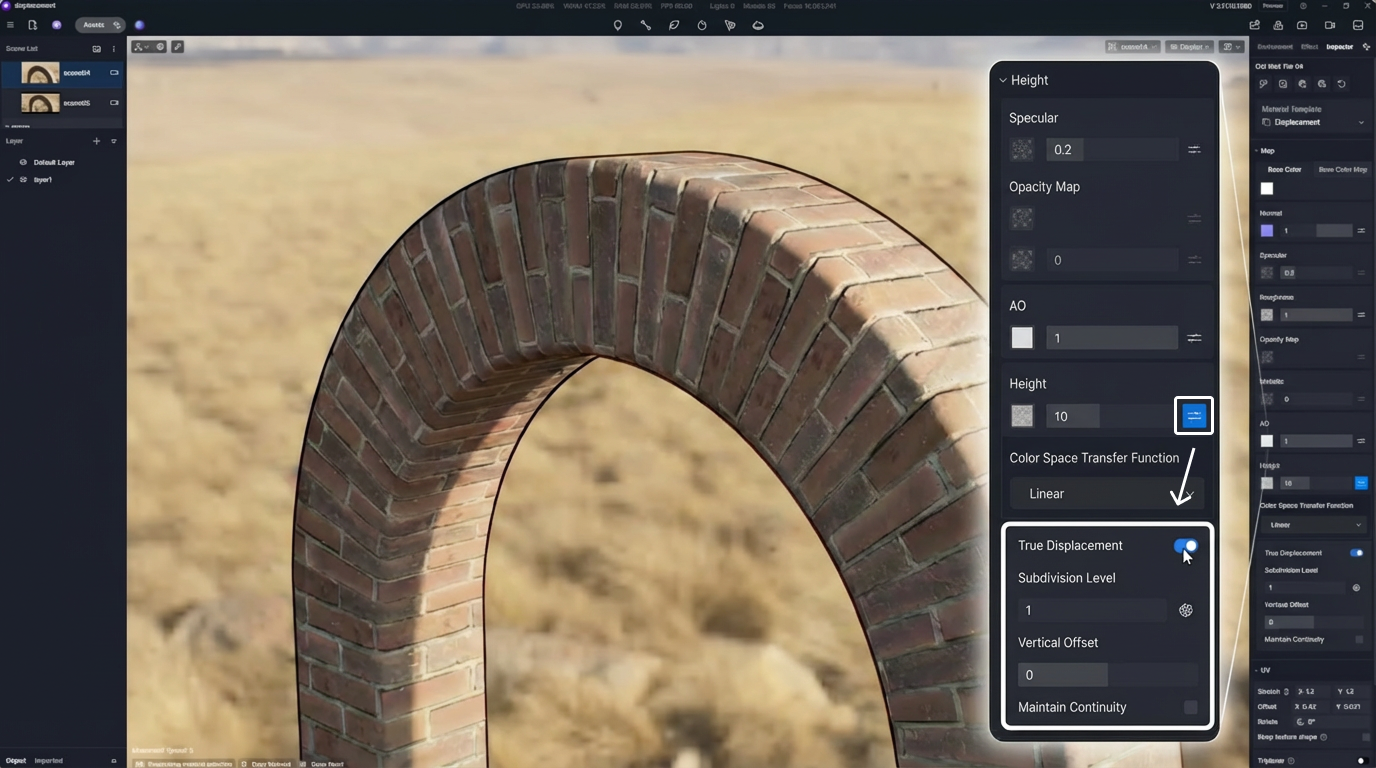
4. Import your displacement or height map
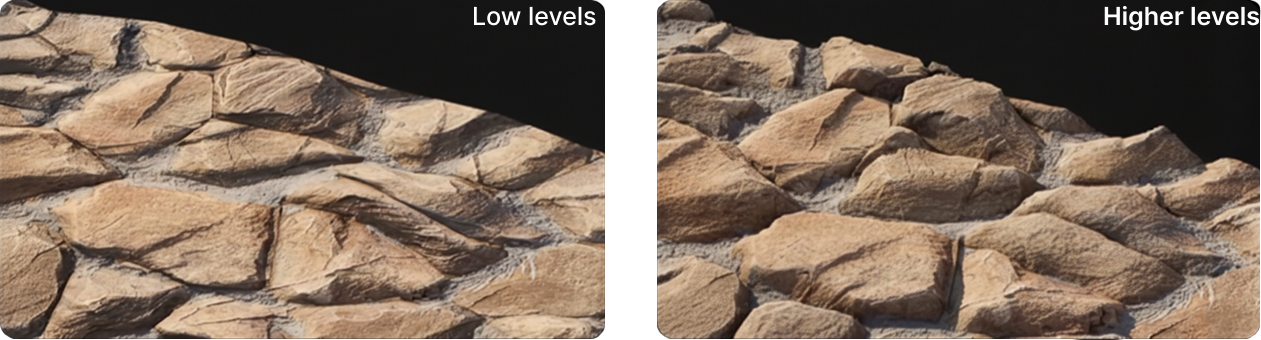
5. Adjust values for intensity, scale, and detail
6. View the result in real time in the viewport.
Practical tips for displacement maps in D5 Render
- Use high-resolution displacement maps
The higher the quality of your map, the better the result. - Combine with normal maps
Use displacement for true geometry and normal maps for fine surface details. - Adjust intensity carefully
Values that are too high can lead to unnatural results. Always start with small values. - Watch performance
True displacement can require more computing power. Find the right balance between detail and performance.
Try displacement maps in D5 Render
Displacement maps are essential for architects who want to create photorealistic 3D renders. By combining real geometric variation with the real-time rendering power of D5 Render, you not only improve the quality of your visuals but also speed up your workflow without sacrificing realism.
Start using displacement maps today with D5 Render!
Frequently asked questions about displacement maps
When should I use displacement maps?
Use displacement maps when you need real physical depth, for example in close-ups, architectural details, and surfaces where light and shadow have a major impact on realism.
Do displacement maps work in real-time render engines like D5 Render?
Yes, modern real-time render engines such as D5 Render support displacement maps through tessellation and micro-displacement, delivering real-time realism without offline rendering.
Can I combine displacement with other texture maps?
Absolutely. Displacement works perfectly alongside normal maps, albedo maps, and roughness maps for optimal detail and realism.